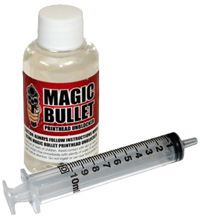
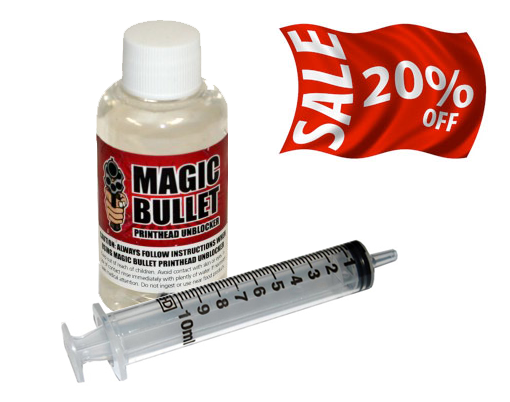
Printer Banding and Mirco Banding
Important Notice to USA and Canadian Customers
Printer Banding Issues.
Another common problem is that of Printer Banding, this is when lines appear across the print, again the most common cause for this is blocked nozzles however this can also be caused by other factors
On some Epson printers after lifting the lid there is a blue lever that lowers or raises the printer head, this should be set to 0.
Make sure that you have choosen the correct media setting, you should be printing with an 1440dpi resolution, this is some times marked as RPM.
Paper Feed ProblemsBanding can also be a result of a paper feed issue, this type of banding normally results in a dark coloured banding across the entire print. Printing on paper that is too thick for your printer can result in the feed mechanism not advancing the paper at the correct speed, allow the ink dots to overlap, certain media types cause the ink to dye on impact not giving the ink time to spread.
Problems when printing with a single channel (e.g black):
If your printing problem is insolated to just one channel the quickest way to rectifiy this fault is to create a print using just that colour, this can be quickly achived in Photoshop, once created it may be nessecarry to produce 10 prints of A3 size at a dpi of 1440dpi.
If you have a problem with more than one channel you may like to run a purge file at 1440dpi in order to gain a complete nozzle check. Right click here and select "save target as" save this in any folder or on your desktop - you can then open this up in Photoshop for printing. Print this up to 6 times or until your nozzle check come good.
Print has a strong colour cast :
If your prints have a strong colour cast this too can be an indication that one of the nozzles is failing, I.E if your print contains a strong red cast it is most likey to be the yellow nozzle that is at fault.
Cleaning your printer heads using Isopropyl alcohol:
Isopropyl alcohol is excellent for softening any dried ink under the print head that as built up over time. FInd below detailed instuctions for the following Epson Printers 2100, 1290, 1270 and 1160. You may also be intrested in our Magic Bullet
Blocked Printer Head Fluid
Epson 2100 Printer:
First turn the printer off at the mains.
• Locate the grey lever which is at the back of the printer, move this lever to the CD postion, this raises the printer head.
•Stand in front of the printer, with the printing head on your right hand side, on the left you should be able to see a little white lever, this lever locks the printer head and stops it from traversing, push this lever down it is now possable to move the printer head by hand without causing any damage.
• Apply Isopropyl alcohol to a clean cloth. Postion the cloth over the sponge type of material which is on the left hand side of the printer and then move the printer head over the cloth, once the printer head is over the cloth switch the grey lever at the back to the paper position so the ink head lowers down onto the cloth.
• Leave the printer in this state overnight with the cloth in place.
• In the morning pull the grey lever to raise the printer head and move it to the right of the printer. Then return the grey lever to the paper position.
• Remove the cloth from the printer this cloth should be covered in ink.
• Turn the printer on and perform a nozzle check. It you still have problems please call 01204 592071 .
You may also be intrested in our Magic Bullet Blocked Printer Head Fluid
Epson 1290/1270:
Leave the printer turned on for this operation
• Open the lid and move the blue lever on the right hand forward this will rasie the printer head.
• Apply Isopropyl alcohol to a cloth and place the cloth on the left hand side of the printer where there is a square of felt-like material.
• Press the yellow so the printer head moves over the Isopropyl alcohol-soaked cloth
• Switch the blue lever at the back to the 0 position so the ink head lowers down onto the cloth.
• leave the printer head resting on the cloth overnight.
• After the printer head has been soaked remove the cloth and return the blue lever to the plus postion and return the head to the right by pressing the yellow button, preform a nozzle check.
You may also be intrested in our Magic Bullet Blocked Printer Head Fluid
Epson 1160:
• Leave the printer switched on.
• Move the blue lever on the right hand side of the printer to the plus setting,this will rasie the printer head up to allow access for the cloth.
• Place a cloth soaked in Isopropyl alcohol on the left hand side of the printer on the square of felt-like material, make sure it's flat .
• Press in the center button for 5 seconds to move the printer head onto the cloth
• Move the blue lever to the 0 position and lower the printerhead onto the cloth.
• Leave the printer on the cloth overnight.
• In the morning, raise the head using the blue lever and remove the cloth, re postion the printer head and prefrom a nozzle check.
You may also be intrested in our Magic Bullet Blocked Printer Head Fluid
Micro Banding - Fine Lines
The term Micro Banding is used for very faint lines that often appear in solid dark sections of an image, this problem can be noticed particularly on the Epson R2400 printer, fortunately the fix is very simple, open your print settings and change the output to “Photo RPM”, this increases the print resolution and will prevent Micro Banding.
Lyson have just released the new ink set for the Epson 1400. Using new ink development technology this ink set offers the user a wide colour gamut and exceptional longevity properties. When used with the Lyson Bulk Ink System, ink costs are reduced by 80%. Installation is simple and takes about 30 minutes.